


Kodak Brownie Hawkeye Flash
One of the most common Brownie models from the mid-20th century

Today let’s take a look at the Kodak Brownie Hawkeye Flash model of camera. This camera model was introduced as the Brownie Hawkeye without the flash sync and Flasholder attachment point beginning in 1949. The Flash model, as seen in the photos below, was introduced in 1950. Brownie Hawkeye cameras were in production until 1961. It is a simple box camera, and like the rest of the Brownie line, was designed to be a very simple camera to use.
I recently acquired one in very good condition with the original “outfit” box. The box isn’t as clean as I would like it to have been, but it included the Flasholder, a selection of flash bulbs, and the literature for some film developing.
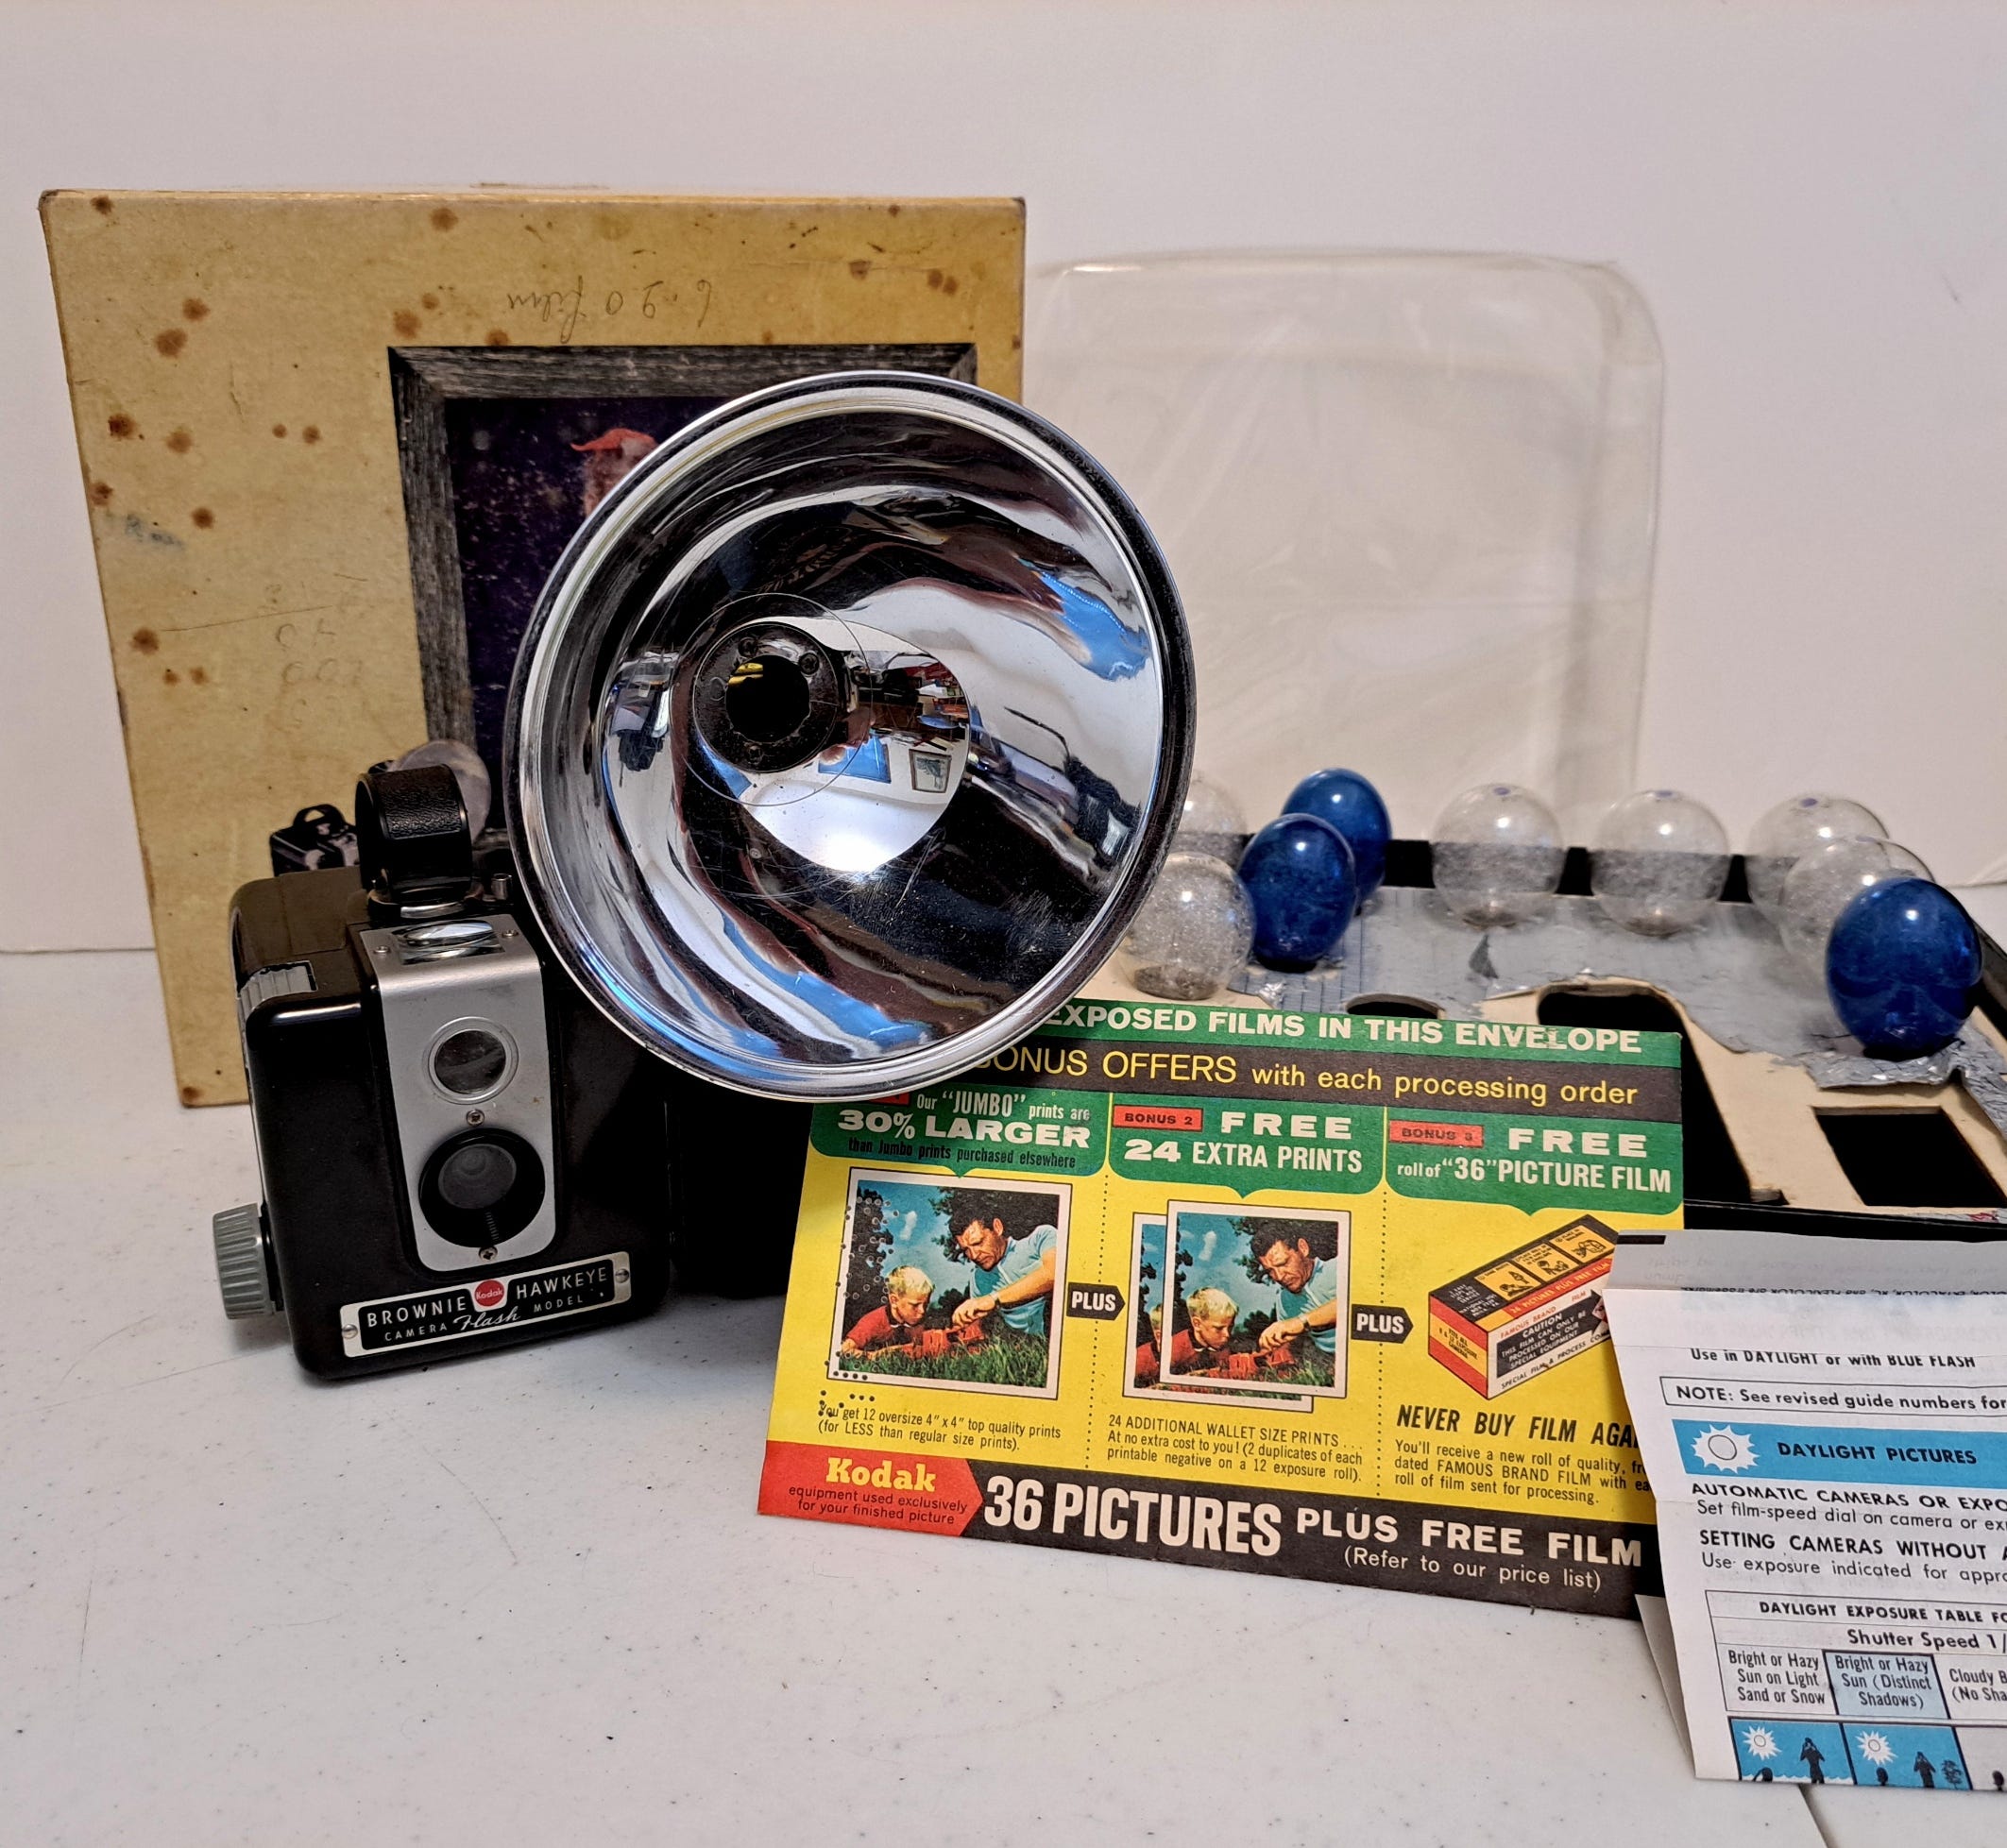
This camera also has a roll of Kodacolor II film loaded in it. The film’s information page was also in the box with the camera. Luckily for me, it was on frame 1 in the camera.

I tested the shutter when I purchased it, and I’m assuming that the previous owner also tested the shutter while on this frame, so the first image is likely a blown-out mess. It is possible that the previous owner also opened the camera with this roll of film inside. Even though I advanced it to the second frame after I bought it, I’m not going to expect to get much out of this roll until at least frame 4. But even after that frame, I don’t know how old the film is, and being color film, it has probably degraded pretty far so the remaining frames are likely going to be very underexposed unless I make long exposures.
But enough about the film in the camera, let’s talk about the camera model itself. There is only one viewfinder, mounted on the top for a waist-level view. Since this camera makes square frames on the film, there is no need to switch between portrait and landscape orientation viewfinders. The viewing lens is, as was normal for a wide range of cameras, positioned above the taking lens.

The Brownie Hawkeye was available in both a standard and a Flash model. The difference between the two is that the Flash model has the attachment point and sync plug on the side opposite the film winding knob. Neither variation has a tripod mounting point on the bottom.
It is a basic box camera that takes 620 size film. The standard Kodak Flasholder attaches to the side of the camera with the screw and flash sync coupling.

Just above the flash coupling is a tab that controls the switch between standard and long shutter speeds. When the tab is down, as shown above, the shutter speed is somewhere in the range of 1/30 to 1/50 (some sources say it could be as fast as 1/80), depending on how clean and functional the shutter mechanism is. The focal length and aperture are fixed at 81mm and f/15, respectively. The minimum focusing distance, according to the user manual, is 5 feet. Kodak made an accessory called Close-Up Attachment No. 13 that fit this camera for closer focusing distance. A cloud filter was also available for use with black and white film.

When the shutter speed tab is pulled up, we can see the word “LONG” molded into it. This indicates that the shutter is in long exposure mode. The shutter will remain open while the shutter button is depressed, then close when it is released. Effectively, this is equivalent to the modern bulb mode on other camera models. The user manual has example photos taken in long exposure mode showing photos taken at 1 second (an indoor portrait) and at 5 minutes (an exterior night landscape). Since the shutter button has to be held for the entire long exposure and there is no tripod socket or cable release attachment point, I dread the possibility of holding the button and holding the camera still for 5 minutes.
The shutter is a fully mechanical rotary type, so there is no additional step to cock the shutter before taking a picture. There is no interlock to prevent the shutter from firing before advancing the film to the next frame. However, that also means that purposely creating a double- (or more) exposure photograph is as simple as pressing the shutter button again.

Since I have a couple of these in my collection, I’ll use another that does not have a roll of film in it to show you the inside. The back is held on only by a small lever connection just under the strap handle’s top attachment point. When the lever is in the L position, the back is locked in place. Sliding the lever to the O position, opens the camera lock and the back can be removed.
In this picture, the empty film spool is in the load position. The film wraps around the back of the box inside the camera to the take-up spool on the bottom. The focal plane is at the back of the camera, with the mask making a square 6x6 frame. With such a large piece of the camera body removed when it is open, the film loading and take-up areas are very easy to access.

On the side of the mask, there are some instructions printed describing how to load the film. On the bottom of the mask, we see the film specification and the manufacturing date stamp. Although it says that “this camera does not take 120 film,” I’ve seen reports of other photographers using 120 spools without problems. Since 620 is still pretty easy to obtain from a few sources online, I’ll stick with 620 for now.

This particular camera’s stamp is YRRO, so this one was made in the 5th four-week production run of 1956. I’ll have to wait until I finish the roll in my newly-acquired model before I can tell when it was made.
According to Camera-Wiki, this model was first made with a glass lens. To reduce production costs, sometime in 1957, this was switched to a plastic lens. In general, the glass lens is considered to be sharper than the plastic lens.
Besides the lens material, there are a couple of minor variations in the design of the front nameplate. The winding knob also varies between a plastic and a metal knob. Finally, this camera design was also marketed as a Brownie Fiesta in some markets, not to be confused with the smaller Brownie Fiesta that used 127 size film.
My next steps with this model camera are to first finish the roll that is loaded in the new (to me) camera. Then, as I have more than one, I’ll look into taking the mechanism apart to clean and lubricate one of them. I’ll share photos I’ve taken with this camera model at a later date.
Sources:
The Brownie Camera Page: https://www.brownie-camera.com/27.shtml
Camera-Wiki: http://camera-wiki.org/wiki/Kodak_Brownie_Hawkeye